Mahara – Platform for ePortfolios and Networking
First steps in Mahara
Login and dashboard overview
Log into Mahara via single sign-on with your TU Graz credentials. Mahara can be used by all teachers.
After logging in, you will see the dashboard, where you will find a quick start video that explains the most important features.
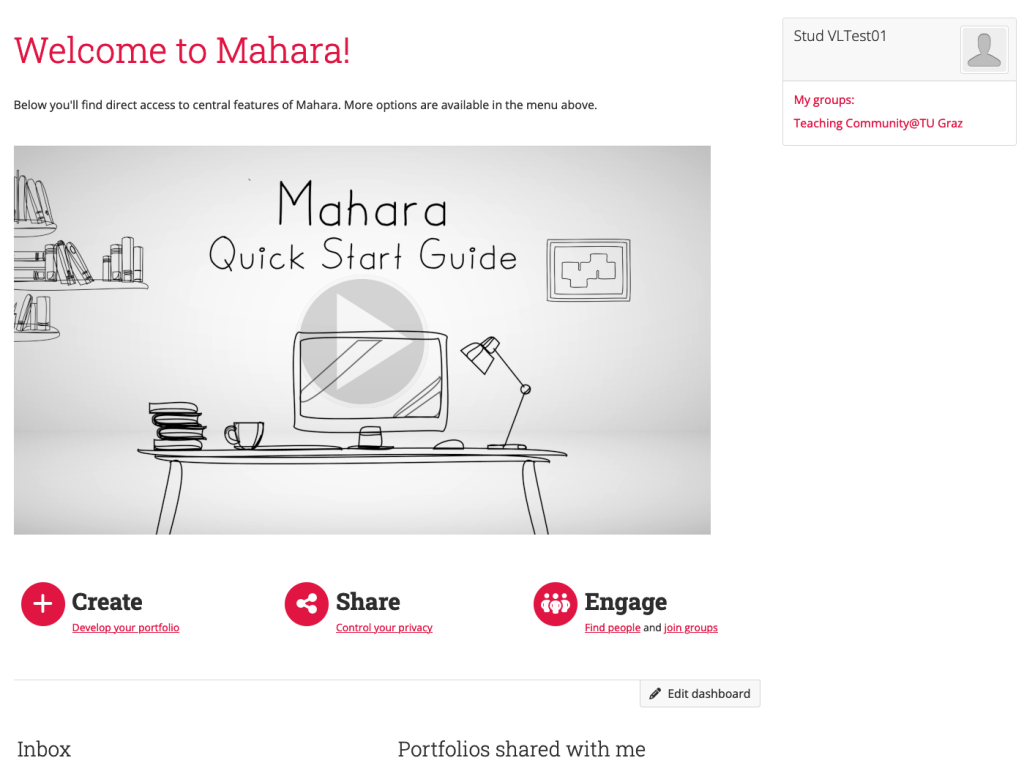
Below this video, there are various blocks such as notifications, your own portfolios or portfolios shared with you. These blocks are empty at first.
On the right you will see your profile picture and your name as well as groups to which you belong.
At the top you will find the menu:

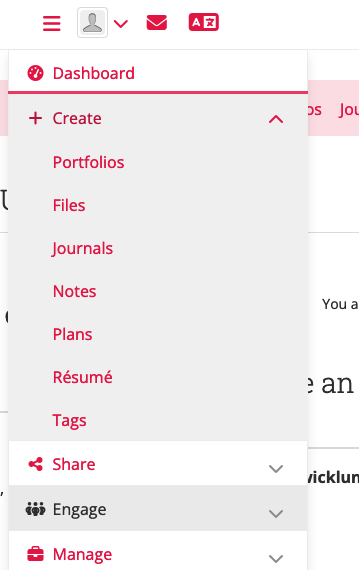
The menu with the three lines takes you to all of Mahara’s most important functions – creating portfolios, sharing and joining groups.
The menu that opens by clicking on your profile picture takes you to profile settings.
The envelope icon takes you to your notifications.
The language icon allows you to switch between German and English.
You can use the language icon to switch between German and English.
Editing your profile and notification settings
Click directly on your profile picture to go to your profile. Here you can see what your profile looks like to other people.
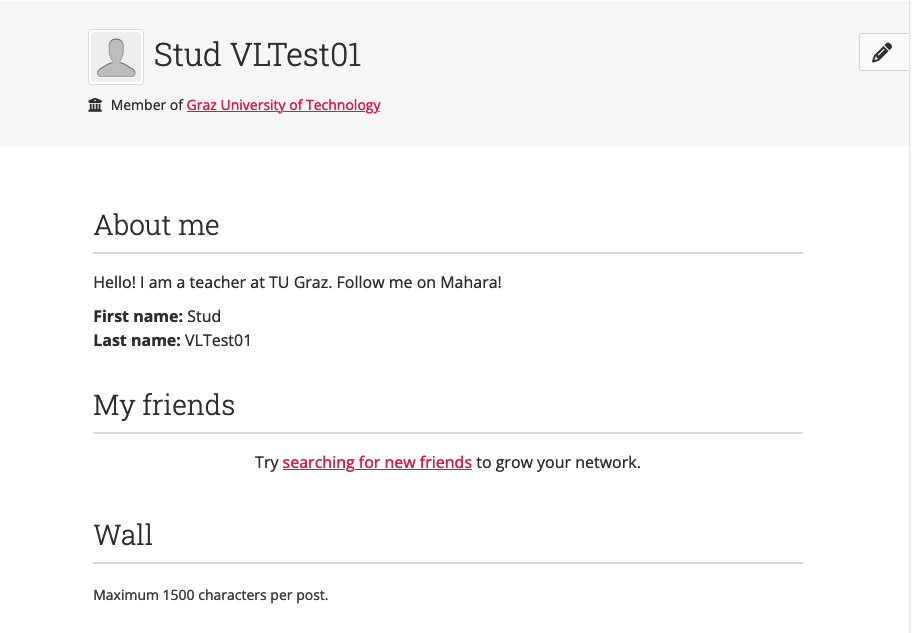
- You can use the pencil in the top right-hand corner to edit parts of your profile directly and rearrange, delete or add blocks.
- When you have finished editing, click on the monitor icon (view page) to exit the editing mode.
Click on the arrow next to your profile picture, then Profile, to add more information to your profile. Change the Introduction text, enter a contact address or link your social media channels here.
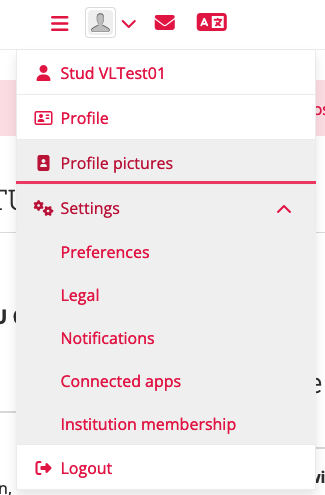
To upload a profile picture, click on the arrow next to your profile picture in the menu, then on Profile pictures. Up to five pictures can be uploaded. The image defined as the default is the one that will be displayed.
Click on your profile picture in the menu and then on Settings to change your preferences:
- „Preferences“ defines, for example, who can send you messages or who can add you as a contact.
- In „Notifications“, you can change the notification settings.
Networking in Mahara
Joining a group
There are various groups in Mahara, e.g. for networking and exchange between teachers at TU Graz.
Ways to join a group:
- by receiving and accepting an invitation to the group. You will find this invitation in your notifications.
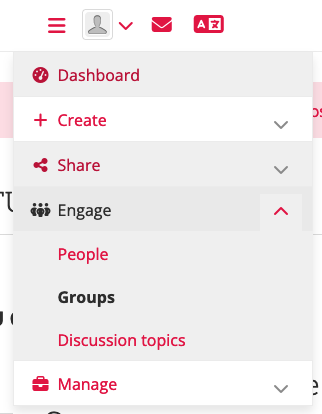
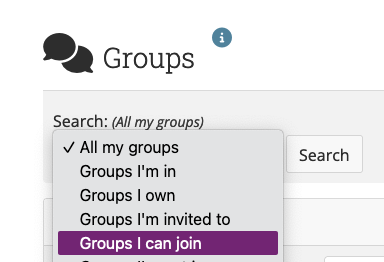
- by searching for an open group. To do this, go to the menu with the three lines – Engage – Groups and filter for „Groups I can join“. Depending on the group settings, you can join directly (open groups) or send a request that must be confirmed by a group admin.
Group overview page
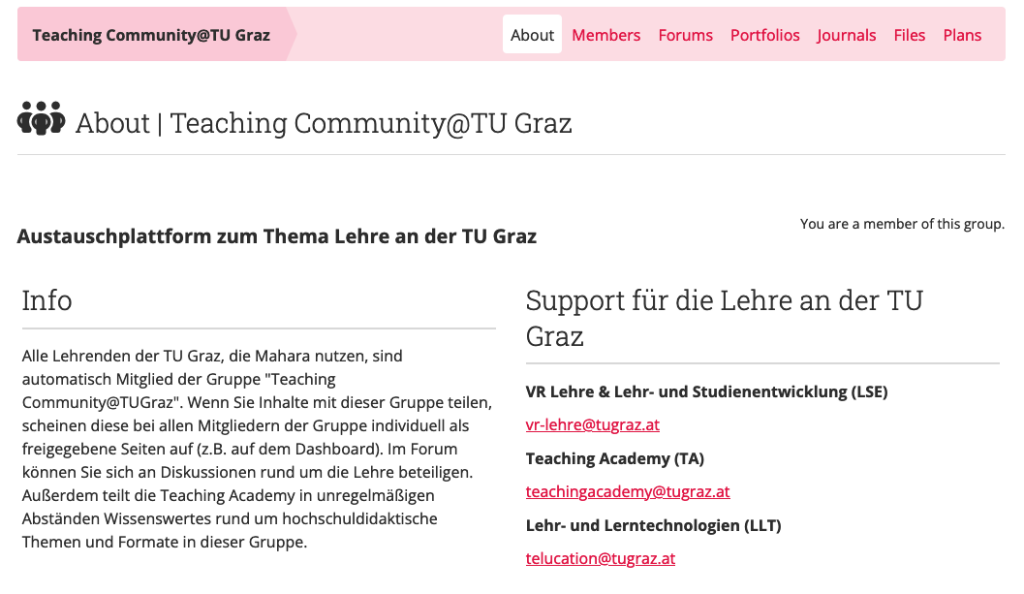
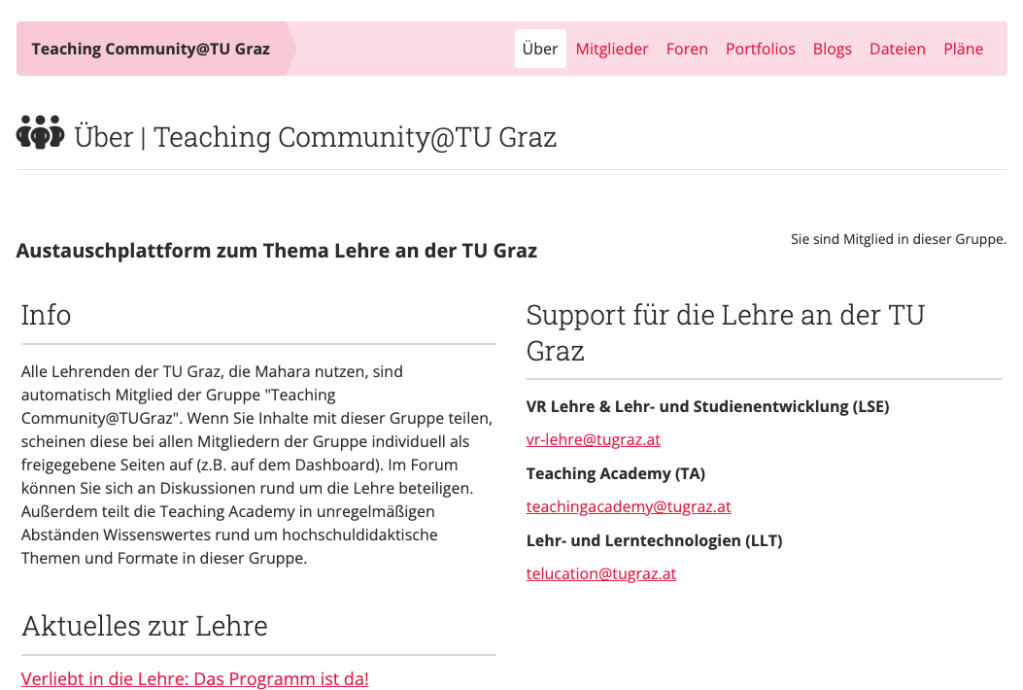
On the main page of a group, you can see how many members, portfolios etc. this group has and who the group administrators and members are.
Below this, you will see the most recent forum posts, group portfolios (= portfolios that can be edited by everyone in the group) and portfolios that have been shared with the group (= created by individuals but shared for everyone to view).
At the top you will find the group menu. There you can access all activities that you can edit or where you can interact with others: group forum, group portfolio, group blog, plans and files.
Creating a group
You can also create your own group in Mahara, e.g. for colleagues with whom you share teaching-related interests or your team.
To do this, click on the menu with the three lines – Engage – Groups and then on the Create group button.

Give the group a name and define settings, e.g. whether the group should be public to all Mahara users, whether participants can join the group with or without confirmation by an administrator, whether members of the group can invite other people and who should be notified about new activities in the group.
Then click Save group. You can now invite people, create group portfolios, etc.
Creating and managing portfolios
Creating a portfolio and managing files
Portfolios on Mahara are pages or collections of pages that you can fill with text, images, etc. and then share with others. A portfolio might be the presentation of a teaching concept or your teaching portfolio that you would like to share with other teachers so that they can read it and comment on it.
Go to the menu with the three lines – Create – Portfolios. You will now see an overview of all portfolios to which you have access. Use the Create button to create a new page or collection (several pages).

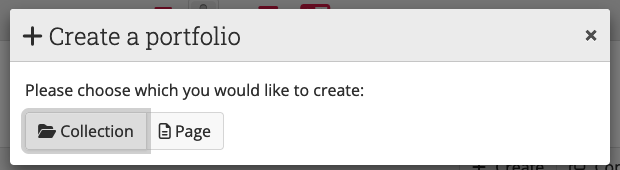
- Give the page a title and save.
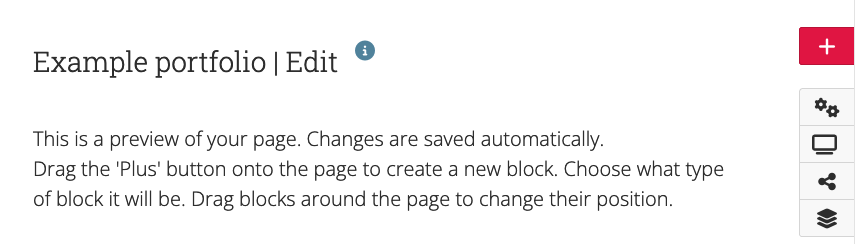
- Drag the red plus icon from the right to the place where you want to add something to your portfolio, or just click on the red plus.
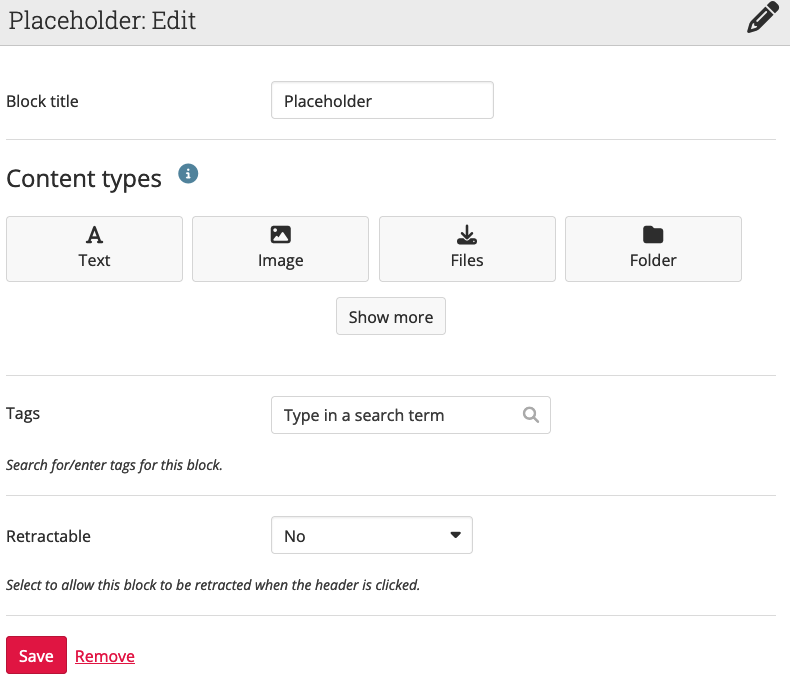
- Select the content type, e.g. text, image, video. It is also possible to add a previously created blog or a Creative Commons license.
- Changes are saved automatically. You can click the monitor icon on the right to exit edit mode and see a preview.
Manage files
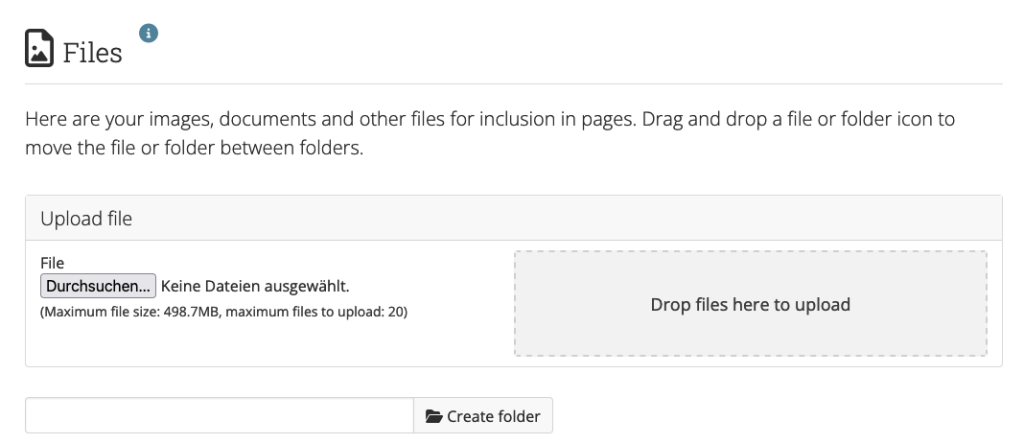
You can upload files that you would like to use in your portfolios in advance via the menu with the three lines – Create – Files. Once uploaded, files such as PDFs and images can be used in several portfolios.
Create journals or plans
You can also create other elements in advance to use them in portfolios later. These include, for example, plans and journals. In journals, new „journal entries“ can be written. In a portfolio, you can display the latest three entries, for example. Plans are a kind of to-do list.
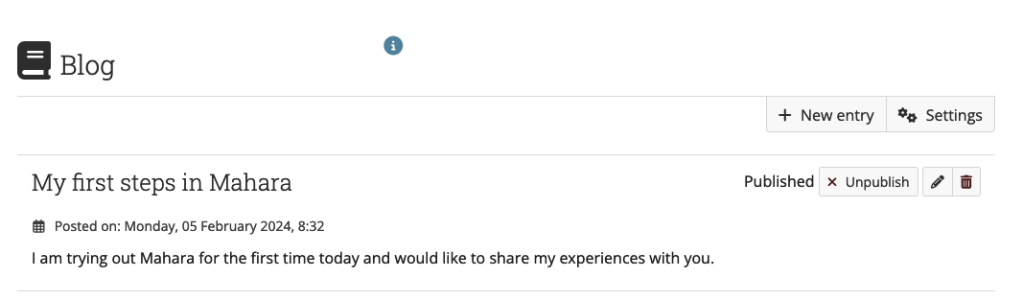
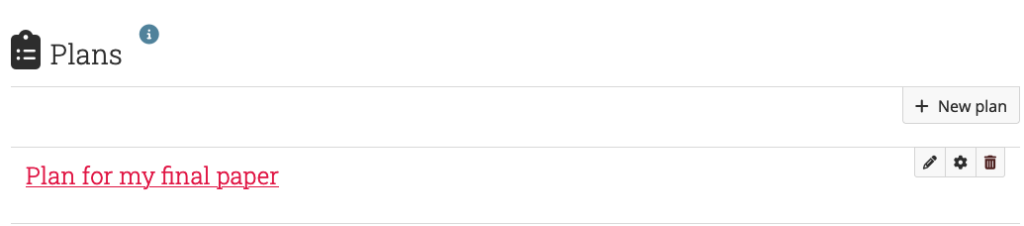
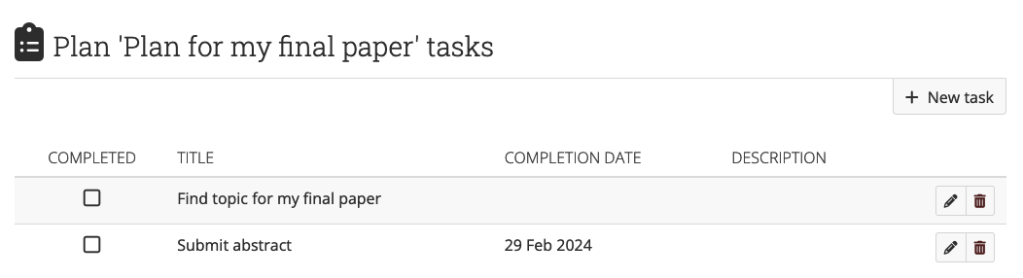
Create plans or blogs via the menu with the three lines – Create – Plans or Journals.
Sharing a portfolio and managing access rights
When portfolios are created, they are initially only visible to you (group portfolios are visible to all group members). You can specify exactly who can see which of your portfolios. The following levels of sharing are available:
- with an individual person
- with a group, e.g. with the TU Graz teaching community
- with the entire TU Graz
- with your own contacts
- publicly
- or via a secret link that you can send to a specific person
There are several ways to share portfolios:
- directly in the portfolio via the padlock icon or, depending on the view, first with a click on the three dots, then the padlock icon
- Auf der Portfolio-Übersichtsseite (Menü mit den drei Strichen – Erstellen – Portfolios), ebenfalls über das Schloss-Symbol
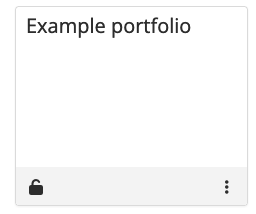
- on the portfolio overview page (menu with the three lines – Create – Portfolios), also via the padlock icon
Managing access rights
You can change the access rights of your shared portfolios at any time via the menu with the three lines – Share – Shared by me.
Via the menu with the three dots – Share – Shared with me, you can see an overview of which pages others have shared with you or your group.
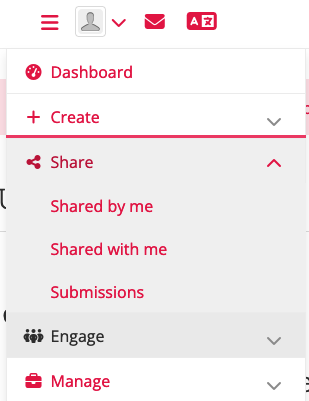
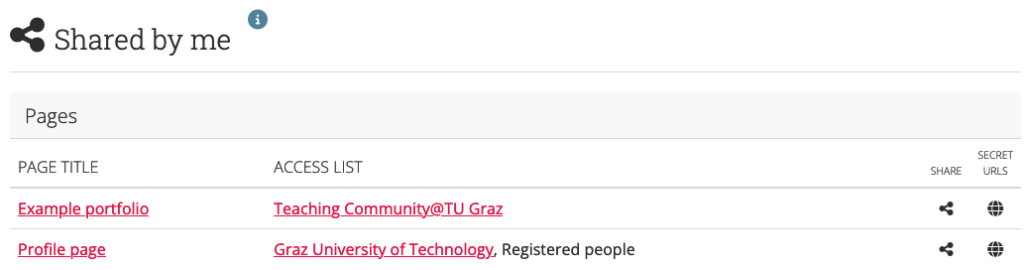
Via the menu with the three lines – Share – Shared with me, you can see an overview of pages others have shared with you or your group.
Help & contact
If something does not work as described, get in touch – we will look into it.