Taking attendance using the Digital Attendance List (DAL)
General description of the Digital Attendance List
What is the Digital Attendance List and who can access it?
The digital attendance list (dal.tugraz.at (external site) ) is a tool that allows you to take student attendance in your course. Students record their own attendance by scanning a QR code to check in and out. However, teachers can also take attendance manually.
The digital attendance list is linked to TUGRAZonline. Teachers automatically see a list of their courses and the enrolled students or groups. Only teachers can manage attendance; access for teaching assistants or administrative staff is not provided.
Access to the Digital Attendance List and overview for teachers
Open the Digital Attendance List at dal.tugraz.at (external site) and log in using your TU Graz credentials.
In the Courses menu, you will see a list of your courses from TUGRAZonline.
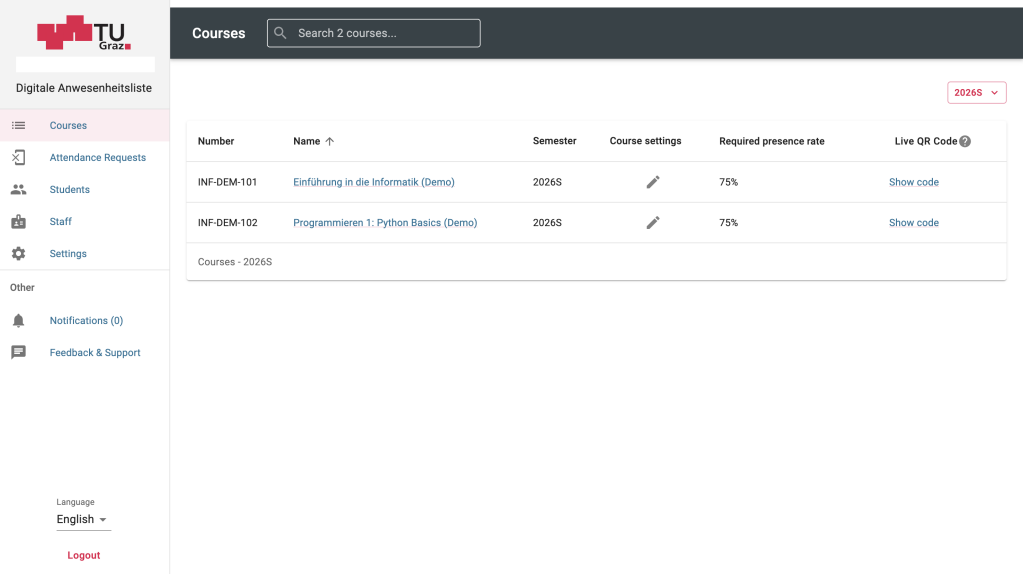
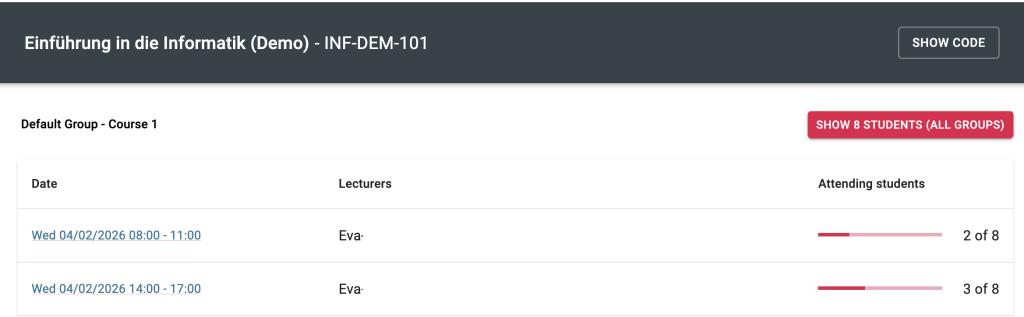
Clicking on a course title opens the list of course dates. These dates are automatically imported from TUGRAZonline. A bar shows an overview of how many students attended each session.
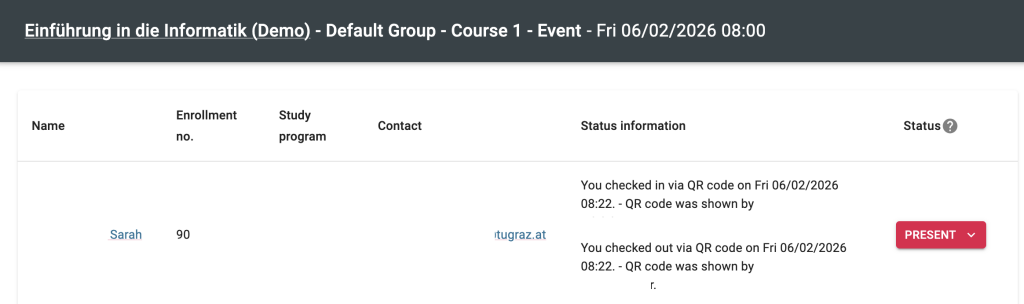
Clicking on a date takes you to detailed information. You will then see a list of students and their attendance for that date, as well as information on whether attendance was recorded via QR code or manually.
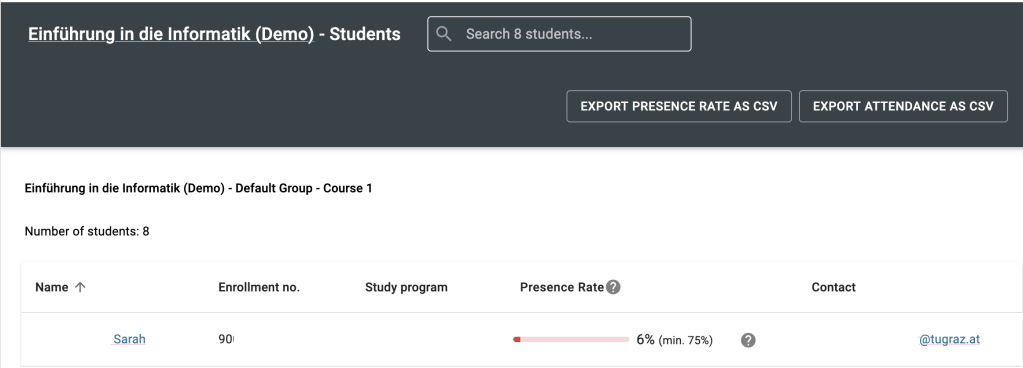
The Show X Students button in the Courses menu opens an overview that summarises each person’s attendance in this course.
In the Attendance Requests menu, you can view pending attendance requests from students. Students can submit such a request if, for any reason, they were unable to check in with a QR code but want to report themselves as present.
In the Settings menu, you can enable email notifications, for example, for attendance requests.
Taking attendance using the Digital Attendance List
Course settings and taking attendance: guide for teachers
Open the Digital Attendance List at dal.tugraz.at and log in with your TU Graz credentials.
Navigate to the Courses menu. You will see a list of all your courses from TUGRAZonline.
Using the pencil icon in the Course Settings column, you can configure certain settings in advance. For example, you can set your own attendance rate that should be met (default = 75%).
On the day of the class, click Show code next to the course for which attendance will be recorded.

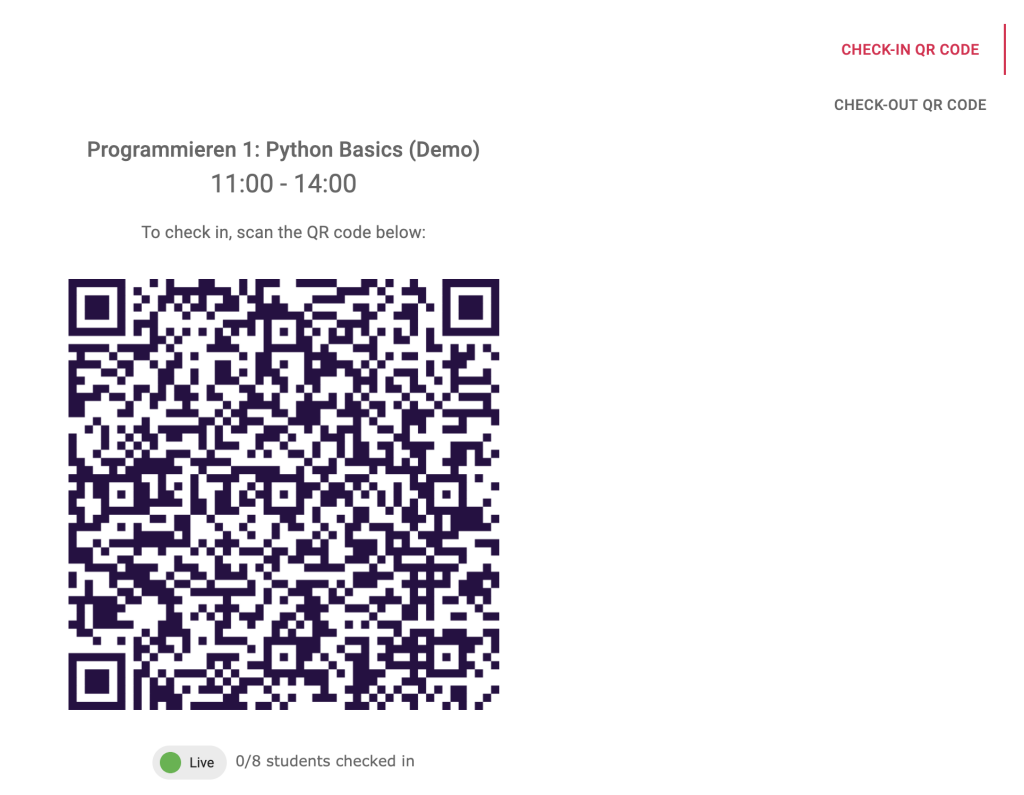
A page will open with a QR code that changes every 4 seconds. Share your screen with the students so they can scan the QR code and mark themselves as present.
Note: The link for sharing the QR code remains the same throughout the semester, but only teachers can use the link to display the QR code. The check-in is always automatically assigned to the currently scheduled session of this course. If there is no currently open session, no QR code will be displayed.
Select Check-in or Check-out QR Code in the top right corner.
Below the code, you will see a text indicating how many students have already checked in or checked out.
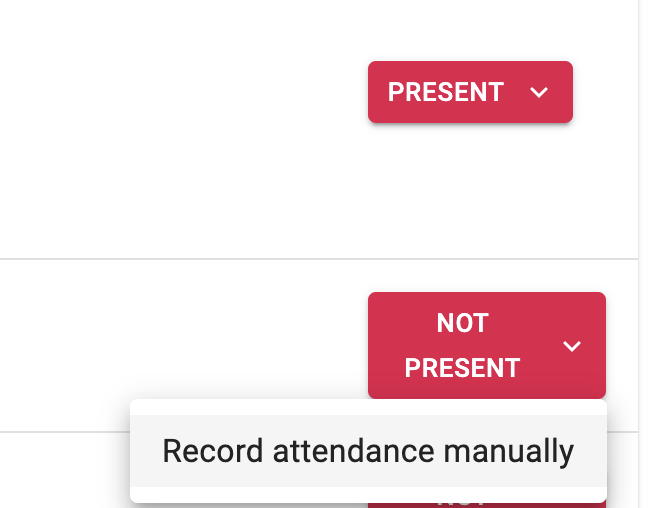
You can manually add or delete attendance records. To do so, click on the respective course and session in Courses. In the list of students, you can manually mark a student as present in the Status column, or delete a previously recorded attendance.
Exporting attendance records
Teachers can export the list of all students present for all sessions of a course or the attendance rate per student for each course. To do this, choose the course in the Courses menu, then click Show X Students.
You will see two buttons for exporting:
- Export presence rate as CSV
- Export attendance as CSV

Taking attendance: guide for students
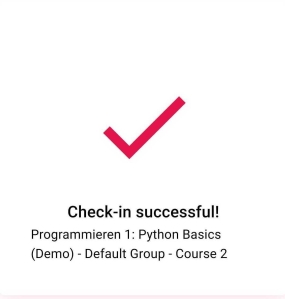
Students receive the QR code for attendance tracking during the course and scan it to check in or out. After a successful check-in or check-out, a confirmation page appears.
Note: The QR code changes regularly. Attendance can only be recorded if you are logged in with your TU Graz account. Therefore, it is best to log in to dal.tugraz.at or another TU Graz service (TeachCenter, TUbe…) before scanning the QR code.
If you were unable to record your attendance for a session but would like to report yourself as present, you can submit an attendance request.
To do so, go to dal.tugraz.at (external site) , and navigate to the respective course and session in Courses. Click the „Not Present“ button in the Status column and submit an attendance request by filling out the form and providing a reason. Teachers will receive a notification and can update your attendance status.
Help & contact
If something does not work as described, get in touch – we will look into it.