BigBlueButton: Guide for teachers
BBB can be used directly in a TeachCenter course.
Before the meeting
Creating a BigBlueButton activity in the TeachCenter
To use BBB in your TC course, turn on the edit mode. Go to the section where you would like to add BigBlueButton, click on the plus icon and activity or resource, and choose BigBlueButton.
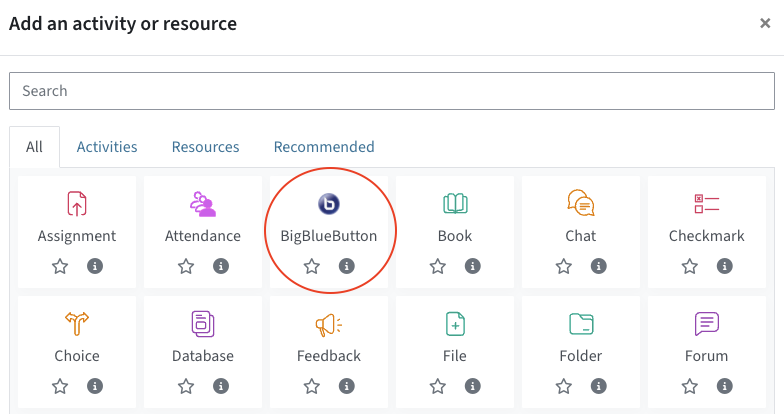
You can reuse this BBB activity for all the meetings in this TeachCenter course. You do not need to create a new activity for every meeting.
By default, your BBB room is set up as a room with recordings. You can record the conference and it will then be automatically uploaded to TUbe (see section about Recording).
Meeting settings
In the General section, you can assign a name and description, as with any TeachCenter activity.
In Room Settings, you can define whether students need to wait for a moderator before they can join the meeting. If you deactivate Wait for Moderator, you should set a welcome text for students.
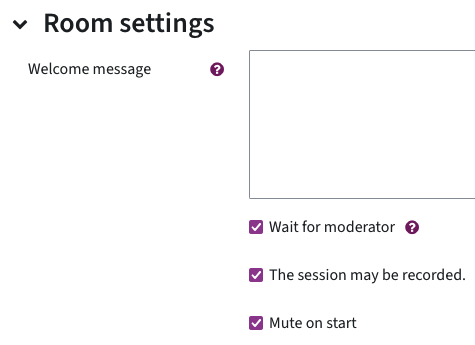
You can also specify here that all participants are muted when they join.
If you want to record your meeting later, make sure to check the box „The session may be recorded“.
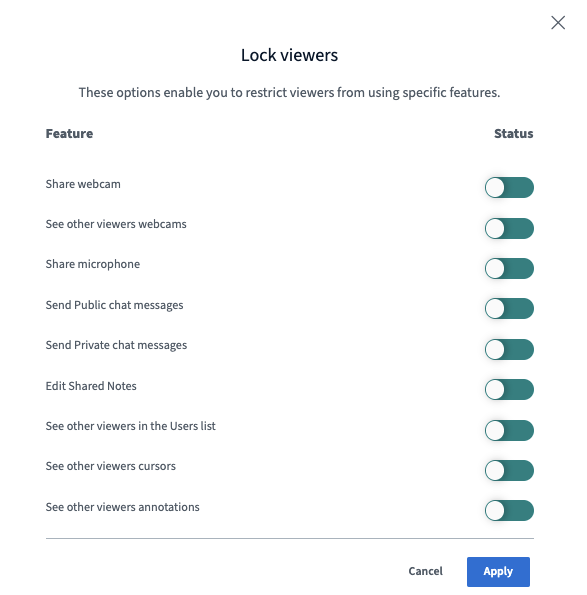
In Lock Settings, you can revoke certain rights before the meeting instead of revoking them later during the meeting (see section Managing participants‘ rights).
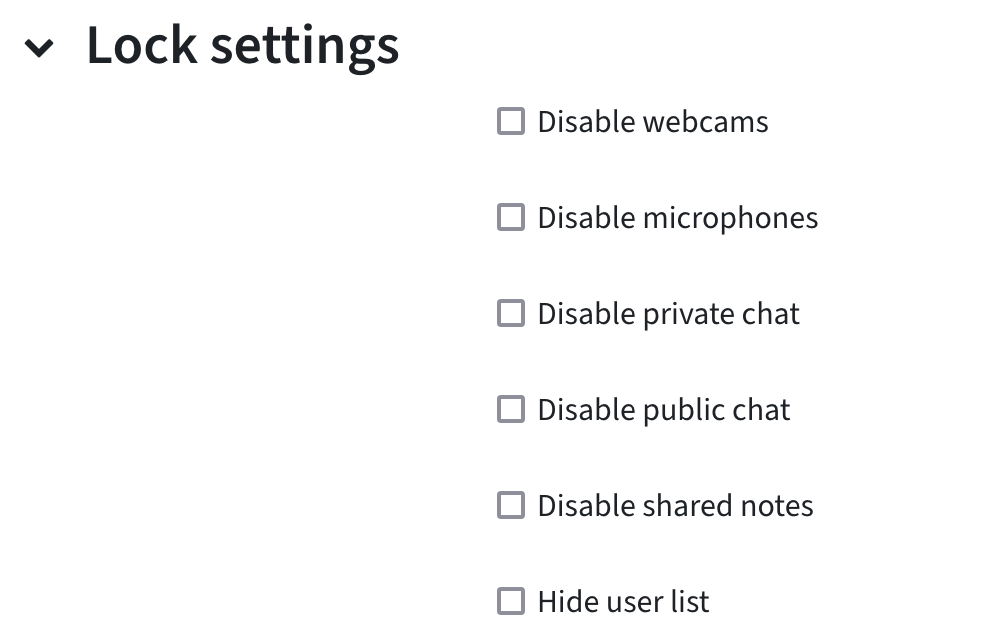
These settings are particularly useful for exams. For example, you can revoke the right for participants to see each other.
In Role assigned during live session, you can set roles for specific people or groups. For example, you might want to give all tutors the moderator role. By default, all teachers enter the meeting as moderators.
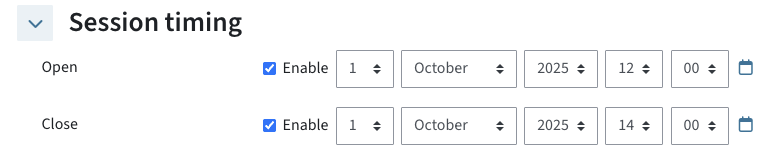
Use the Session timing to set a start and end time between which students can join the conference. Outside of these times, students will only see the activity on the course home page, but will not be able to join.
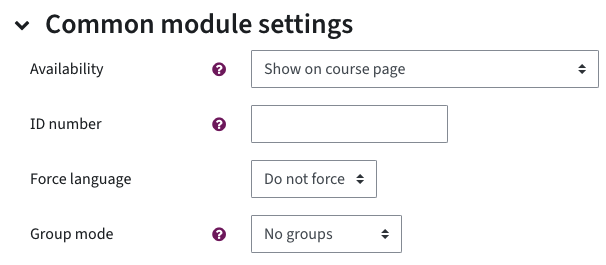
N.B.: Always leave the group mode of a BBB activity on No groups. Otherwise there may be issues accessing the meeting as participants are not allowed to see each other.
Conducting a meeting with BigBlueButton
Accessing the meeting, waiting room
- On the course home page, click on the BBB activity.
- Click on Join session. If this button is missing or greyed out, you may be outside the predefined time period (see Meeting Settings), or you may have to wait for a moderator to open the meeting.

- You will be asked if you want to join with microphone or audio only. For participants with microphone, there is an echo test before joining the conference.
- By default, students can join the meeting whenever it is open. To activate a waiting room/lobby, click on the gear icon next to the participant list – Guest Policy – Ask moderator. The setting „always deny“ means that no one can join the meeting from this point on. We recommend using „ask moderator“ instead. Otherwise, students who drop out of the meeting for technical reasons cannot rejoin.
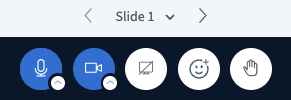
- You can switch your video and audio on and off and share your screen via the menu bar at the bottom centre. The small arrow on the button takes you to further settings such as virtual backgrounds.
- Über die Menüleiste unten in der Mitte können Sie Ihre Video- und Audioübertragung ein- und ausschalten und Ihren Bildschirm freigeben. Über den kleinen Pfeil auf der jeweiligen Schaltfläche gelangen Sie zu weiteren Einstellungen wie z. B. virtuellen Hintergründen.
Managing participants‘ rights
You can already set and revoke certain participant rights before the start of the meeting (see section „Before the meeting“).
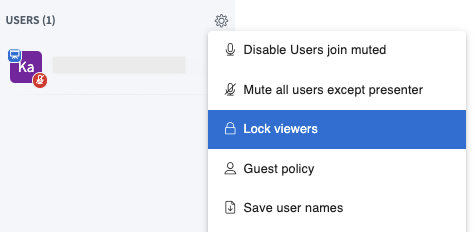
During a meeting, any moderator can set the rights of participants on the left side of the screen, in the participant list, by clicking on the gear icon and clicking on Lock viewers. By default, everything is allowed.
Managing presentations and documents
In BigBlueButton, you can upload a presentation or document in advance instead of sharing your screen. This feature is particularly useful if you want to annotate the document.
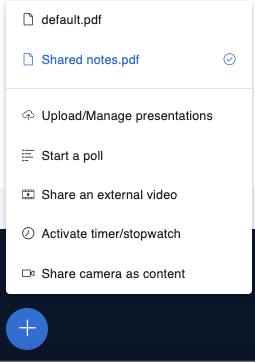
To upload your presentation or document, click the plus icon (Actions) in the bottom left corner of the default classroom presentation, then choose Upload/Manage presentations.
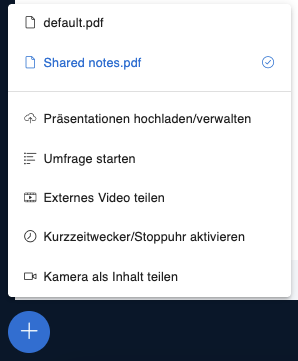
Office documents (.ppt, .pptx, .odp etc.) without animations and PDF files are supported.
When clicking on the three dots, you can enable or disable download of the original document, or send a link to the annotated document to the chat for all to download.

Recording a BigBlueButton meeting
Please note: Only the main session can be recorded. Breakout rooms cannot be recorded.
In order for your recording to be uploaded to the corresponding Tube series, TUbeDrop must be activated in your TeachCenter course. TUbeDrop can be requested via the TUbe Services form (external site) .
To record, „Room with recordings“ must be chosen in the main settings and the checkbox „The session may be recorded“ must be ticked.
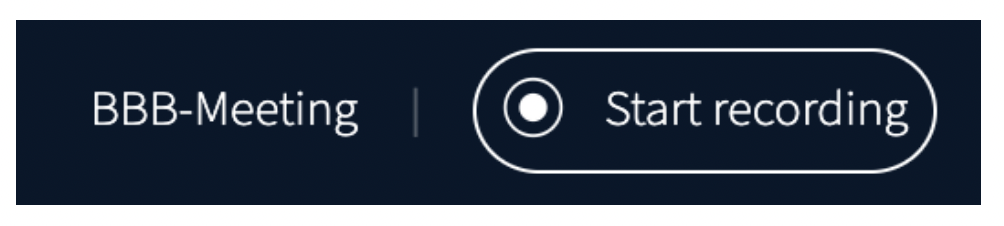
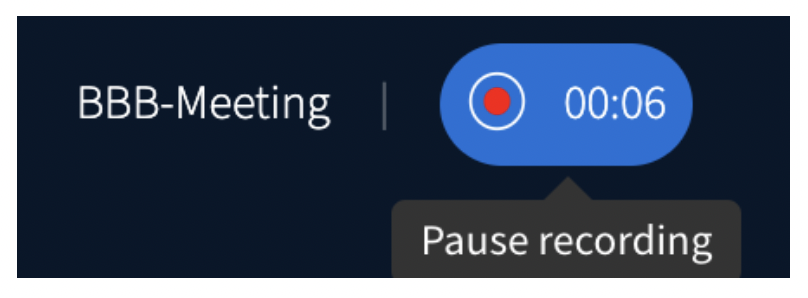
- You need to start the recording of audio and video manually directly in the BBB meeting. To do so, click Start recording. Confirm in the window that appears. You can pause the recording by clicking on the corresponding button.
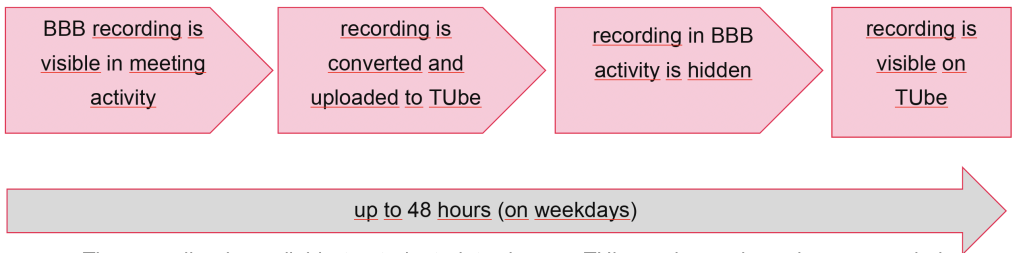
- The recording is automatically converted and transferred to your TUbe series after the conference ends. This may take up to 48 hours on weekdays or longer during holidays.
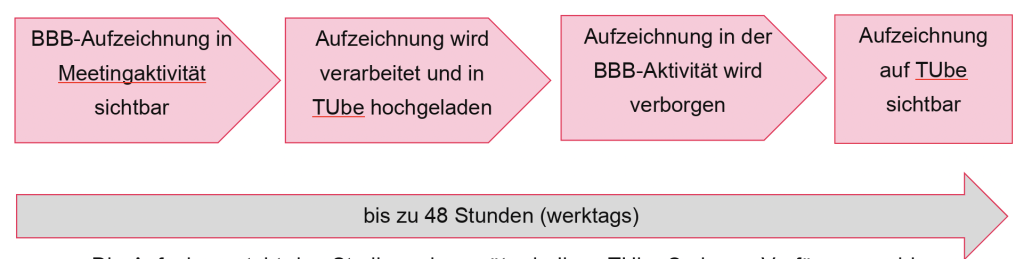
- The recording is available to students later in your TUbe series and can be managed via TUbeDrop.
If you only want to make a recording (a screencast), we recommend using the TUbe Recorder instead.
If you are only making a test recording, please contact the TeachCenter support if it does not appear on TUbe. Very short recordings might not be converted and sorted out.
Interactions with students: notes, chat, raising hands, annotations
Shared notes
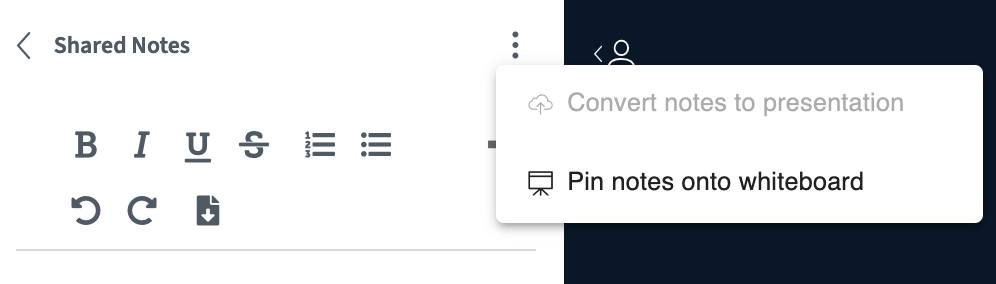
Click on Shared notes above the participants list to create a shared note, e.g. for minutes of the meeting. Everyone can edit this note. The notes can be converted to a presentation (PDF) or pinned to the whiteboard so that they are shown in full-screen instead of a presentation. To do this, click the three dots menu.
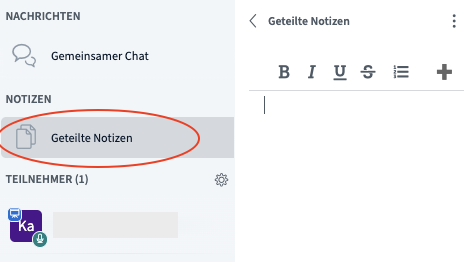
The note will not be saved automatically at the end of the presentation, but it can be downloaded (Download icon).
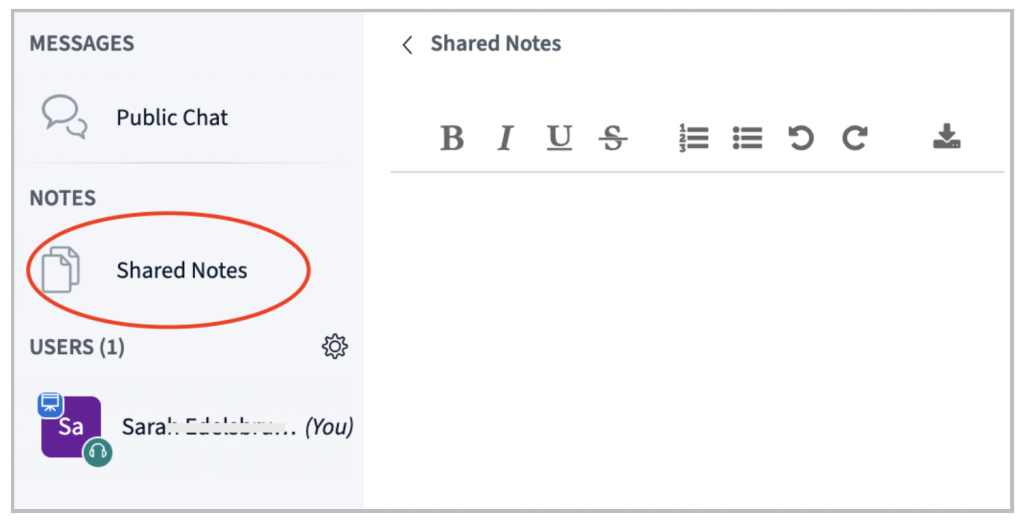
The notes are not automatically saved at the end of the meeting, but they can be downloaded (“Download” icon).
Chat
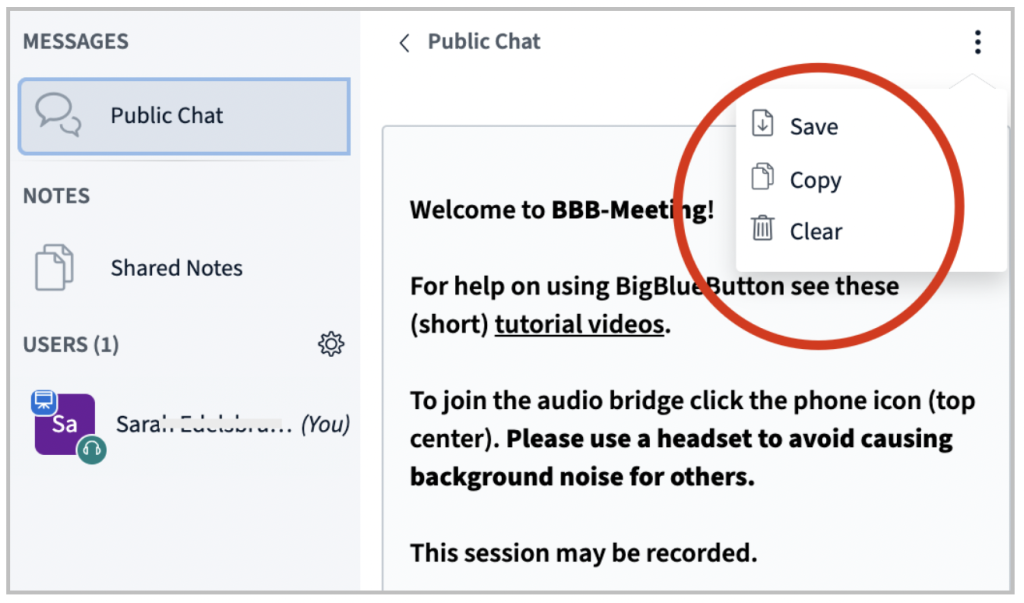
BigBlueButton has a public chat as well as private chats between single participants. The public chat can be found in the menu on the left.
To write a private chat message, click on the person with whom you want chat.
The chat history is not automatically saved when you exit, but can be exported via the menu.
Raising hands
Participants can raise their hand via the hand button in the menu bar at the bottom.
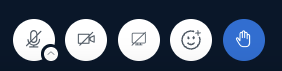
As a moderator, you will see who has raised their hand in a pop-up window. In this window, you can also lower all or individual hands.
Annotating slides
To the right of your presentation, there is a toolbar that you can use to annotate slides. You can add text, drawings, shapes, sticky notes.
The slide icon at the button turns on multi-user mode, which allows certain or all students to annotate the shared document. You can give individual users access to the whiteboard by clicking on them in the participant list – whiteboard access.

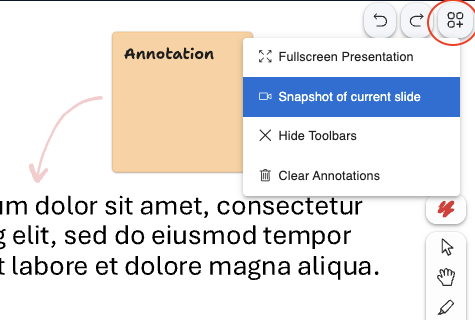
To save annotations, you can make a screenshot of the current slide by clicking on the Options icon on the top right – Snapshot of current slide, or you can send a download link to the public chat via the Plus icon (Actions) – Upload/manage presentations – three dots – send out a download link for presentation including whiteboard annotation.
Creating and managing breakout rooms
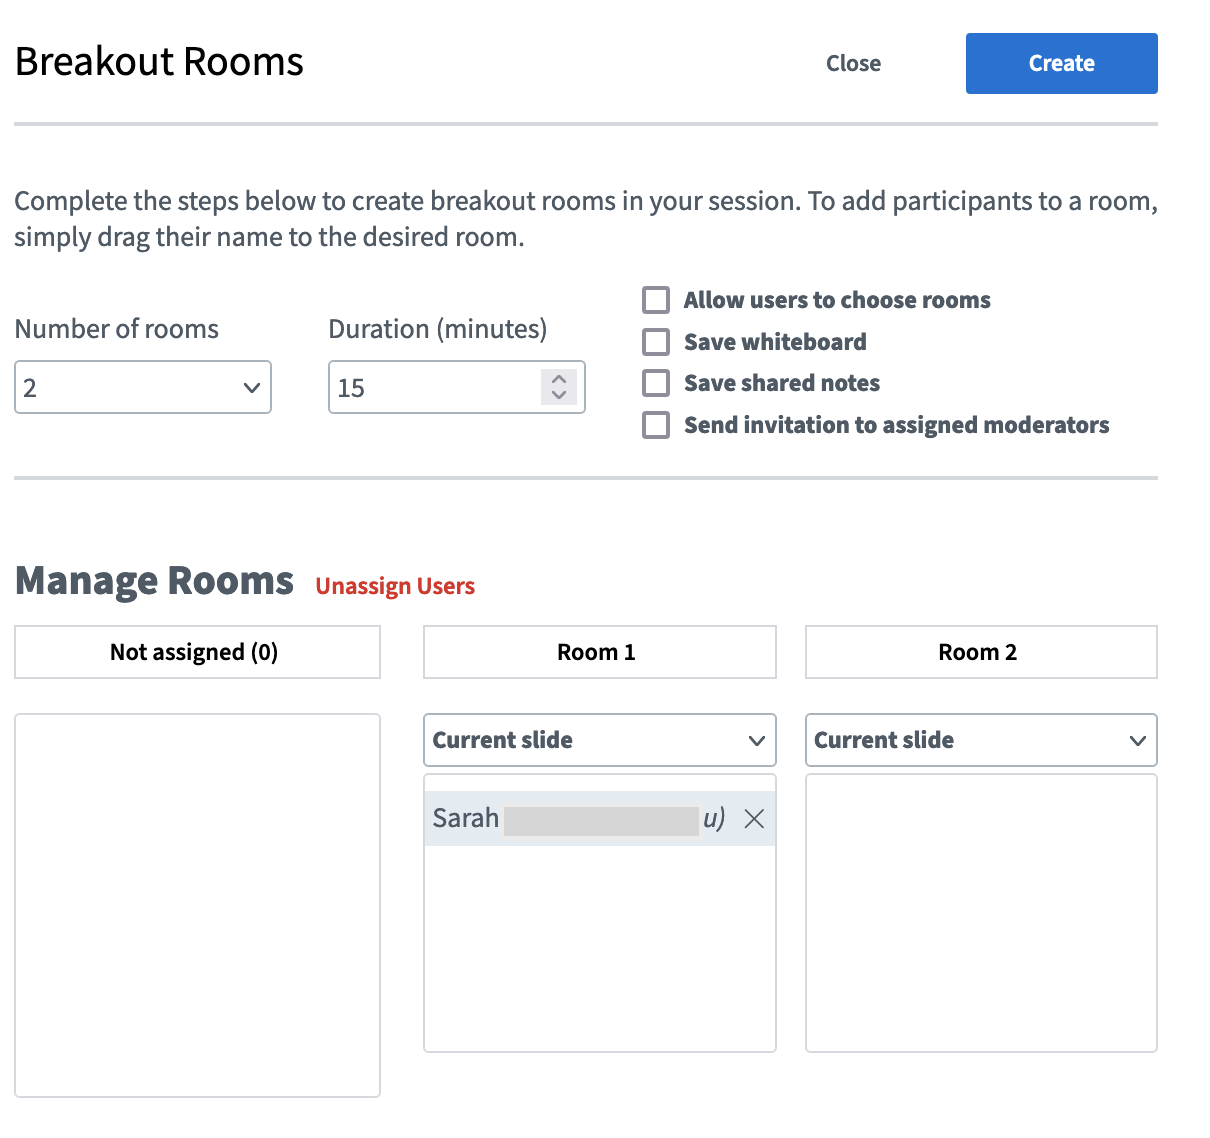
You can create breakout sessions via the gear icon next to the participant list – Create breakout rooms.
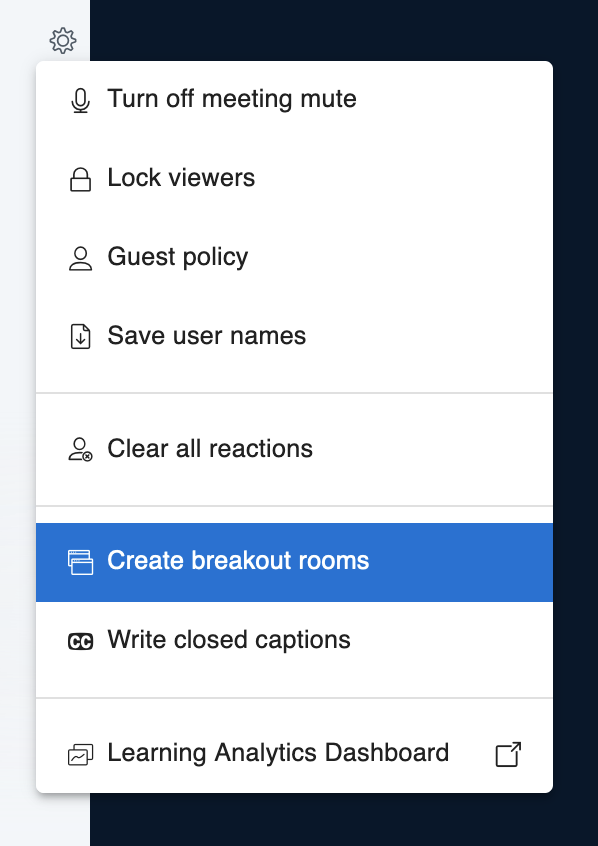
You can then specify the number of rooms and for how many minutes the rooms should be available. You can use drag & drop to assign participants, randomly assign participants, or allow them to choose a room themselves.
You can also set that the presentation and shared notes from the breakout rooms will be saved when the room is closed.
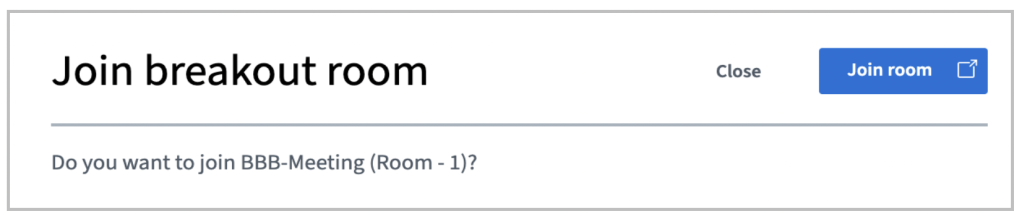
Participants will see an invitation to join the breakout room. It opens in a new tab.
After creating these breakout rooms, all participants receive a message that they have been moved and must join the session manually by clicking Join room .
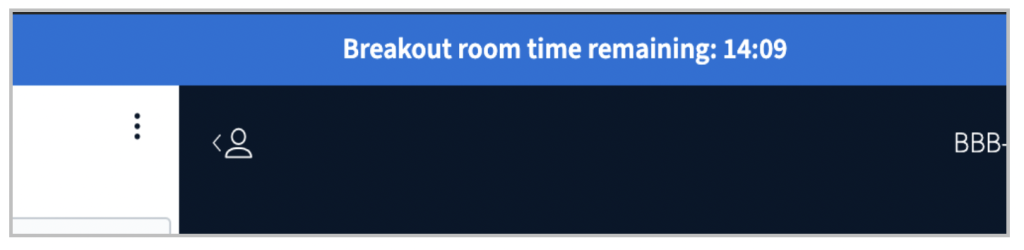
Participants in breakout sessions can use all the features such as the whiteboard, shared notes, chat, annotations. Breakout rooms cannot be recorded. The time remaining for the session is displayed at the top of the screen.
Moderating breakout rooms
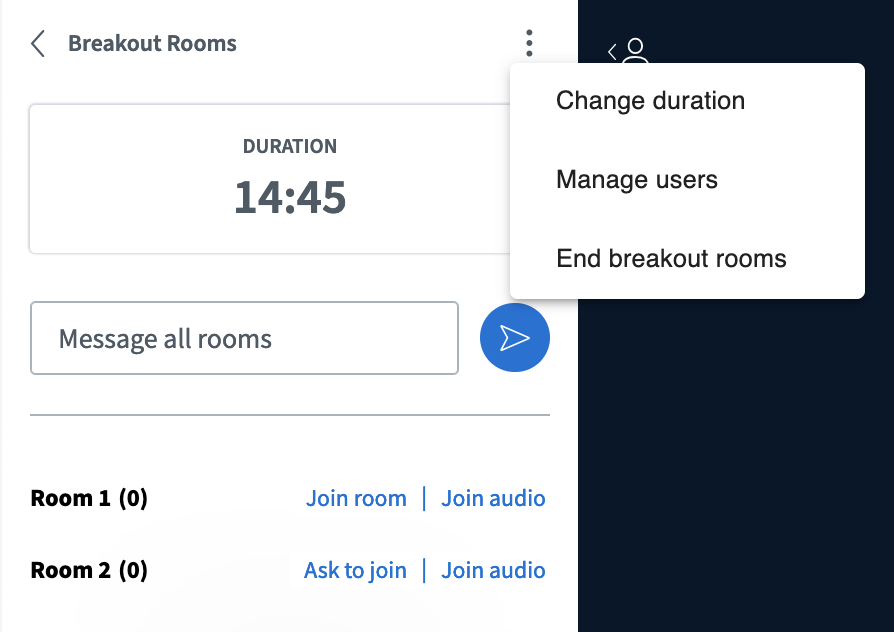
Moderators see a breakout rooms menu in the original session. Use this menu to:
- see the remaining time
- join different sessions
- message all rooms
- change the duration of the breakout rooms
- manage participants and move them to other breakout sessions
- end the breakout rooms
Actions menu: Sharing videos or additional camera, polls, stopwatch, random student selector
The Actions menu (Plus icon) gives you additional features to share content or manage your lesson.
Sharing an external video
By using the Plus button at the bottom left and Share an external video, you can share videos from external video services. Use this feature instead of sharing your screen if you want to show a video, as this feature is optimized for video sharing.
Polls
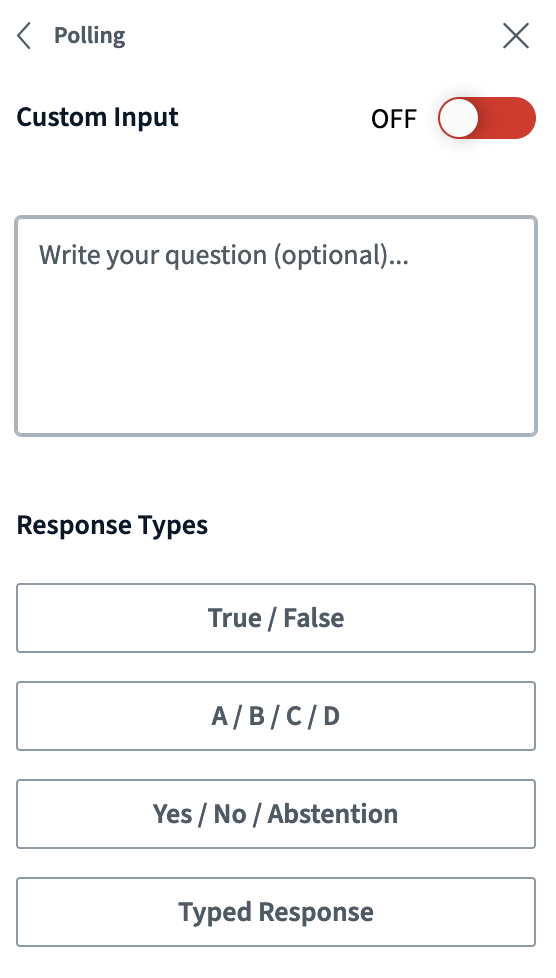
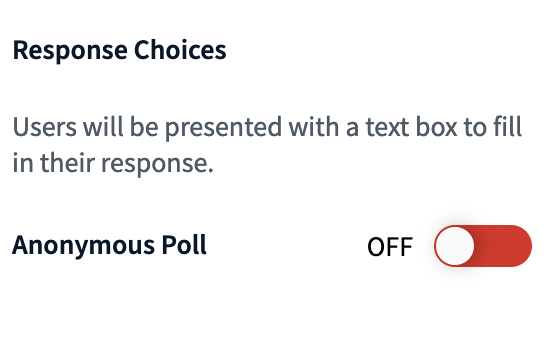
You can create a survey via the plus button at the bottom left – Start a poll. Anonymous polls are also possible.
You have several types of polls to choose from:
- True/False
- A/B/C/D
- Yes/No/Abstention
- Typed response (free text)
- Custom question and answer options (upload via file)
After creating your polling question and answers, you have to start the poll. The moderator will see the participant’s answers in a separate Polling menu on the left.
To end the poll and publish the results to students, click Publish poll. The results are published in the chat and shown on the presentation as an annotation, where you can move them around or delete them.
Additional features: set a timer, share camera as content
The Actions menu also allows you to set a timer/stopwatch.
Share camera as content will show your camera in full-screen instead of a presentation. This is useful if you are demonstrating something on camera or are using a document camera to present an experiment or document.
Ending the meeting
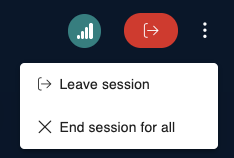
To end a meeting for everyone, click on the Leave button in the upper right-hand corner of the screen > End session for all.
The BigBlueButton conference will also close if you have set a closing time in the TeachCenter and it has passed, or when all the moderators have left and students are not allowed to join without a moderator.
Help & contact
If something does not work as described, get in touch – we will look into it.