Webex for students
Before the meeting
Access to Webex
Webex can be used in the browser (external site) or the desktop app (external site) . We strongly recommend using the desktop app. Once the app is installed, meetings started from the browser will automatically open in the app. Log in to Webex with your TUGRAZonline credentials.
To join the video conference, follow the link to the Webex meeting or room communicated by the teacher (for example, by email or via the TeachCenter) and enter the password for the meeting, if required. If you do not have a link to the meeting, please contact your teacher.
Possibly, the meeting takes place in the personal room of a teacher. You can join this room by entering the teacher’s username (the first part of the TU Graz email address) as meeting information (e.g. max.muster@tugraz.at -> https://tugraz.webex.com/meet/max.muster).
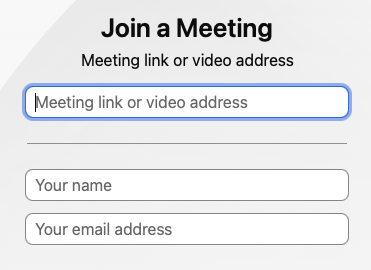
Before you enter the meeting room, you will see a preview.
- Re-select the video and audio source here, if necessary. A pop-up might appear asking for permission to access the microphone and camera. You must grant this permission to use your microphone and camera in the conference.
- At the top right, you can select a virtual background or mirror your own view.
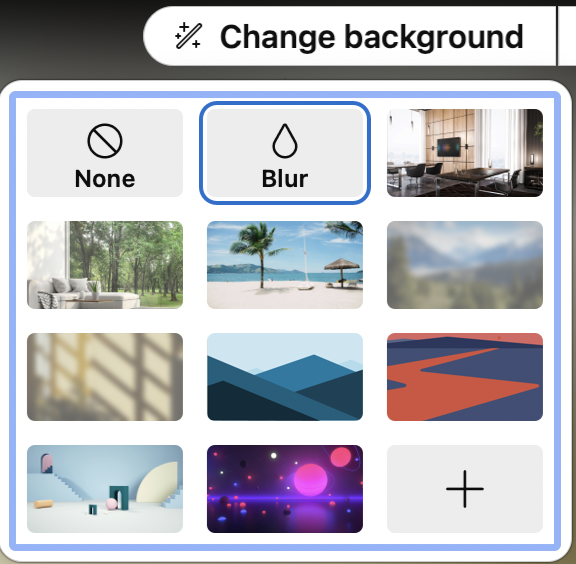
- In the preview, you can also switch your camera and microphone on or off. You can change this at any time during the meeting. However, we recommend muting your microphone when entering the meeting to avoid any background noise. Click Join Meeting again to enter the meeting room.

If the teacher has not yet started the online meeting or if the room is not yet open, you cannot join the meeting. Try to join again later.
You may also be taken to a virtual lobby or a waiting room after joining. You will be automatically brought into the meeting as soon as the teacher initiates this.
You can also join the video conference later, as long as the meeting is not locked. Simply join the meeting as usual and mute yourself so that you do not interrupt the course or the meeting.
Activate or mute microphone
In the menu bar you can mute or unmute your microphone with these buttons. If you want to say something, activate your microphone; you will be heard by everyone present in the meeting room.

Make sure to keep your microphone muted during the course if you are only listening. This will help to prevent noises or reverberation and allows for better audio quality for the participants.
Activate or stop video
In the menu bar you can turn your video on or off at any time. Whether you should have your video activated depends, among other things, on the teacher and the course. In case of connection issues, it is advisable to deactivate your own video.

Use LAN instead of WLAN and avoid VPNs if necessary to ensure a better connection.
During the meeting
Raise hand
Webex offers various features during the meeting that facilitate video conferencing and collaboration among participants.
In Webex, you can raise your hand virtually. This is suitable, for example, if you want to ask a question or say something.
- To do so, click on your own name in the participant list. Click the Raise hand button that will now appear.
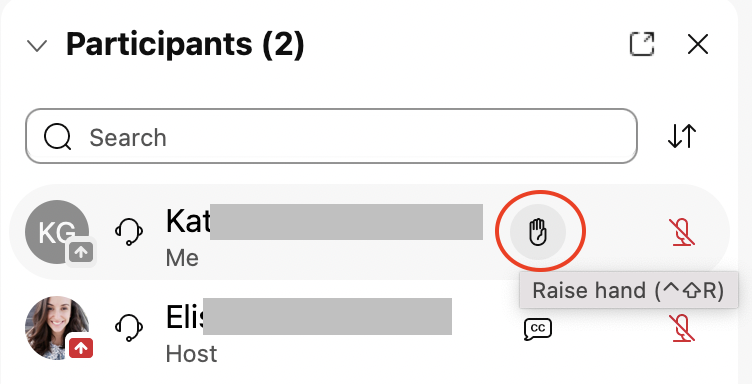
- A hand symbol in the participant list and at the top left of your video indicates that you are raising your hand virtually. To undo this, e.g. after your questions has been answered, click the hand symbol next to your name in the participant list again.
Chat
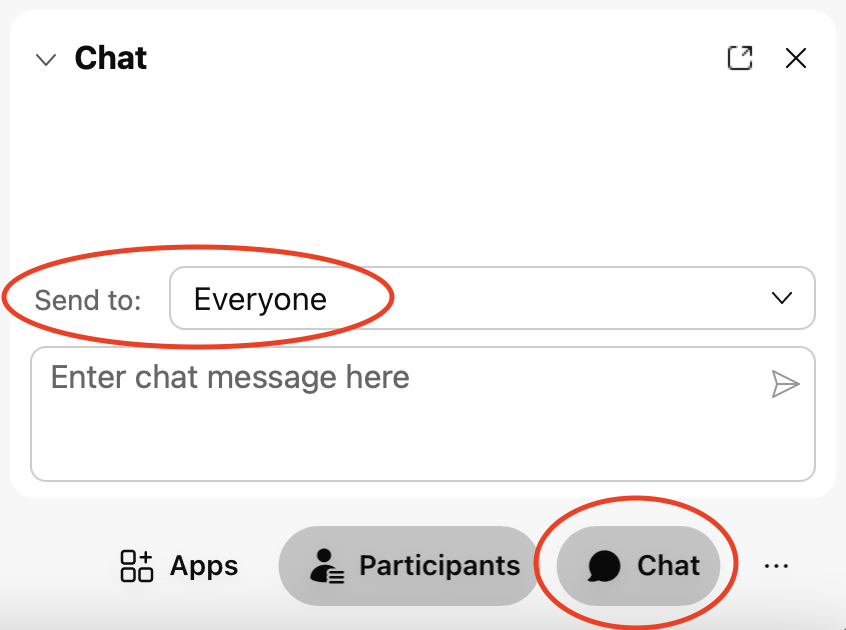
During a meeting, you can ask questions or discuss a topic in written form in the chat. Open the chat window by clicking the speech bubble
at the bottom right of the menu bar. Select Send to > Everyone to write in the general chat, or Send to > a specific person to send a private message to that person.
Join a breakout room
Breakout rooms are separate Webex sessions within a meeting in which participants can collaborate without getting disturbed before returning to the main room. These breakout sessions can either be assigned by the teachers, or participants can choose the rooms themselves.
- If you are assigned to a breakout room, confirm in the pop-up window that you want to join the breakout session.
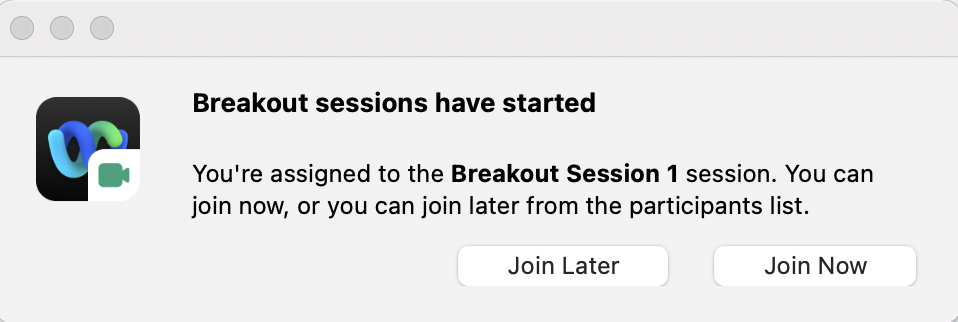
- If you are allowed to choose the breakout room yourself, click Breakout Session > Join Breakout Session in the menu bar at the top of your screen and select the desired room.
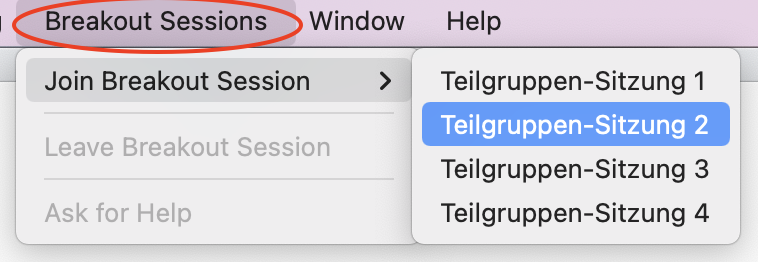
- Alternatively, you can also click Show all breakout sessions at the top of the participant list. A window opens with a list of all breakout rooms from which you can choose. Click Join next to the particular session you want to join.
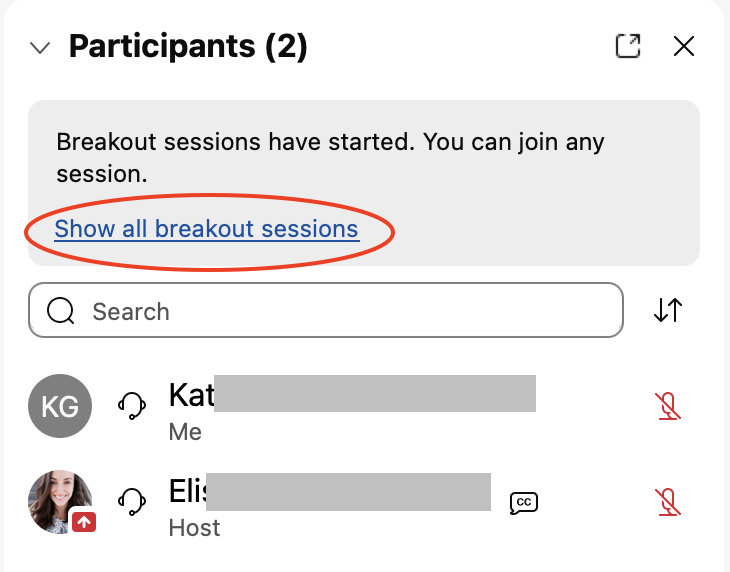
- In the breakout sessions, you can also contact the teacher if there are problems or questions. To do so, click Ask for help at the top right of the participant list. The teacher will be notified and knows that your breakout session needs help.
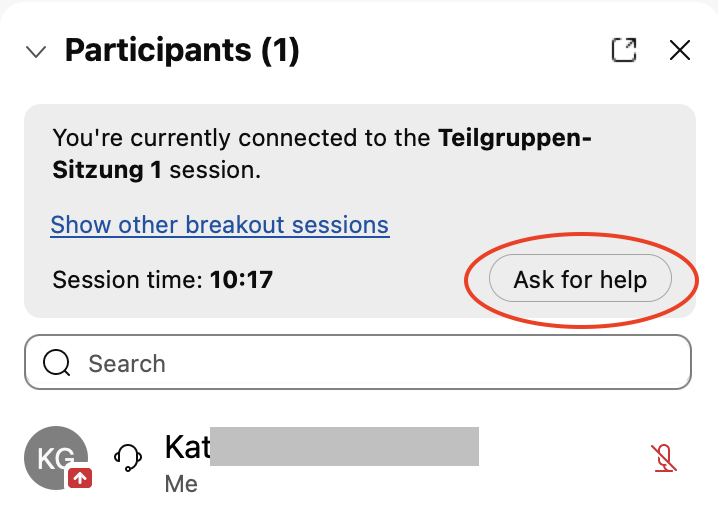
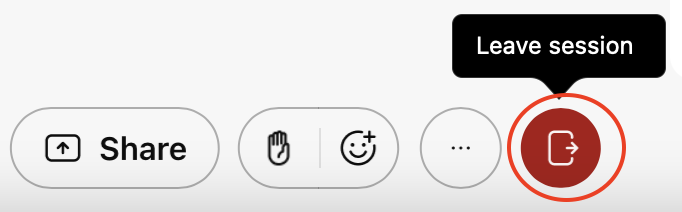
- To leave a breakout session, click on the red button at the bottom right in the menu bar. Confirm with Leave breakout session in the pop-up window that you want to return to the main meeting room. If you click Leave meeting here, you will leave the entire video conference.
Share content
In Webex, you can share content using the Share button.
- To share your screen or presentation slides, click Share in the menu bar at the bottom. Select the programme you want to share or your entire screen (desktop).

- When sharing content, the menu bar will be expandable within the shared programme or window if you move the mouse to the top of the screen and stay there for a few seconds. This way, you can also read the chat, mute yourself etc. during screen sharing.
- Click Stop Sharing in the expandable menu bar at the top to stop sharing.

In the Share menu, there is also the option to share files. This is especially suitable for collaboratively editing files.
- Click Share in the menu bar, open the tab „File“ and click Share File. The file will be displayed directly in Webex and participants automatically have the right to annotate the file.
- To edit a file, you can use the toolbar on the left. By clicking the Save icon at the bottom, you can save the file including annotations.

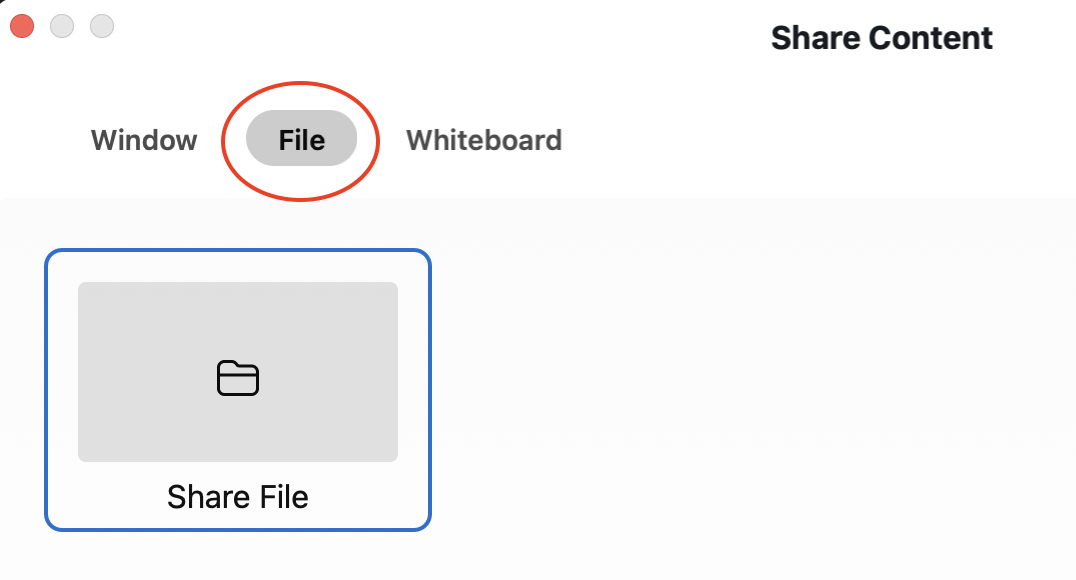
- To close a shared file again, click on the information at the top that the file is shared and click on the X. If you have shared the file, it will be gone for all other participants as well.
Edit whiteboards
To work collaboratively, e.g. in the whole group or in breakout rooms, there is the possibility to use whiteboards.
- Sharing whiteboards works the same way as sharing other content: Click Share, select the tab „Whiteboard“ and click New whiteboard.
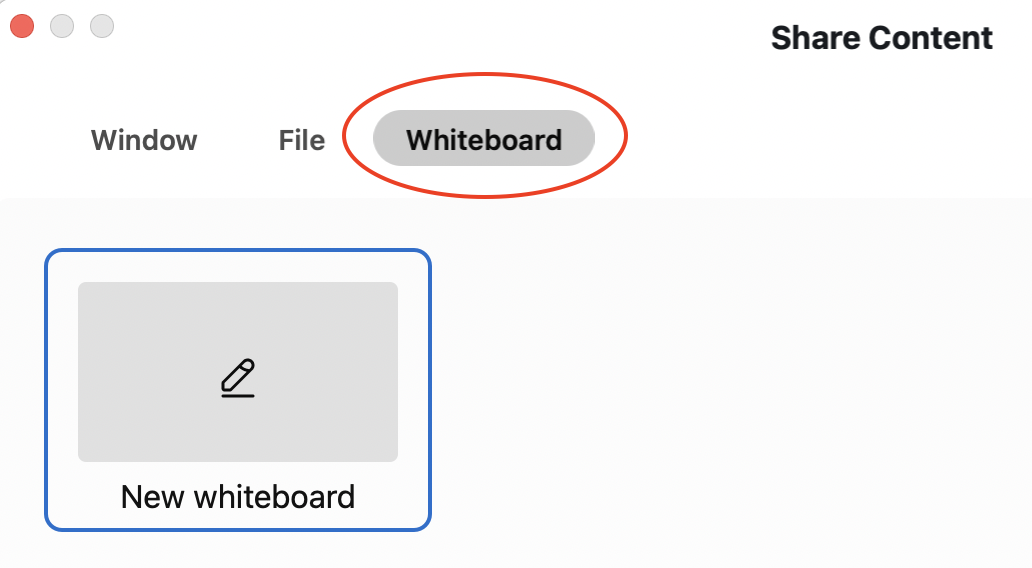
- A shared whiteboard can be edited by all participants of the video conference or the breakout session. In the toolbar there are different tools to choose from for editing the whiteboard. To save the whiteboard, click the save icon at the bottom of the toolbar on the left.
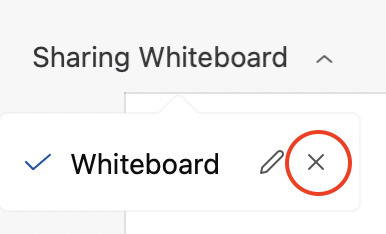
- To close a whiteboard, click on the information at the top that the whiteboard is shared and click on the X. If you have shared the whiteboard, it will be gone for all other participants as well.
Polls
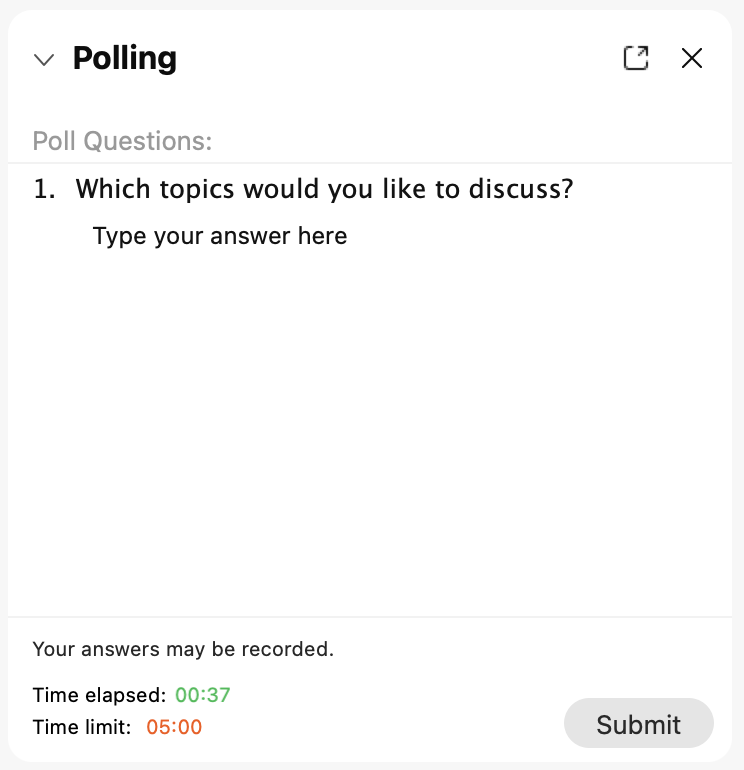
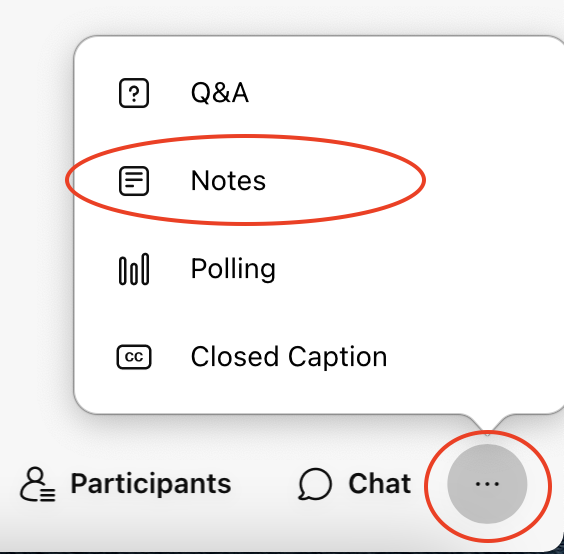
You can also participate in polls created by the meeting hosts. If a poll is active, it will appear in the right participant area. Alternatively, you can open the poll via the three dots (…) > Polling. Answer the question(s) and click Submit.
Taking notes
During a meeting, notes can be taken directly in Webex. This can be either done by each person individually, or a teacher can appoint a note taker; the notes of the note taker will be visible to all participants of the meeting. You can find the notes in the menu bar at the right by clicking on the three dots (…) > Notes. You can save these notes at any time.
Leave the meeting
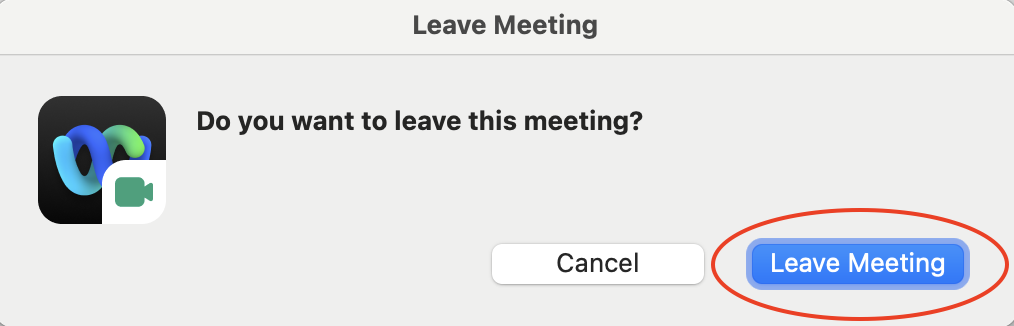
To leave the meeting, click the red X in the menu bar and then click Leave meeting.
Help & contact
If something does not work as described, get in touch – we will look into it.